Practical guide for businesses
How to Write a Graphic Design Brief for Print
Prepare the goal, audience, content, sizes, quantities, brand files, production needs and approval route before design begins.
Quick answer
What should a print design brief include?
You do not need to know every printing term. When material or finishing is undecided, explain how the item will be displayed, handled, stored or distributed.
- 01What you need designed and produced
- 02The purpose of the item
- 03Who the item needs to reach
- 04What the reader should notice or do
- 05Final size, quantity and number of versions
- 06Approved text, images and required information
- 07Logo files, brand assets and existing guidelines
- 08Material, finishing and usage conditions, if known
- 09The launch, event or delivery date
- 10The person responsible for final approval
A clear brief helps a designer understand what your business needs to communicate and how the finished item will be used. It also reduces avoidable revisions because the content, size, production requirements and approval process are discussed before the artwork is built.
Complete checklist
Build the brief in ten practical steps
State the business goal
Begin with the reason for the project, not only the product name. Instead of saying, "We need a brochure," explain whether it must introduce a company, support a sales meeting, explain a service, launch a product or help readers compare packages.
A clear goal helps the designer decide what information deserves priority.
Describe the intended audience
Explain who will receive or see the finished item. Useful distinctions include existing customers or new prospects, consumers or purchasing teams, local walk-in visitors or event attendees, and the required language versions.
The audience affects tone, image selection, information density and the level of explanation required.
List every deliverable
One campaign may involve a company profile, brochure, menu, label, banner, signboard and matching screen formats. List the complete set early so the design system can work across every required shape.
If more formats may be added later, mention them before the core visual direction is approved.
Confirm size, quantity and versions
Provide final dimensions when known. Also state the estimated quantity, number of pages or sides, product variants, branch or staff versions, and any language changes.
Quantity and finished format can influence the suitable production method, material and finishing route.
Selected work
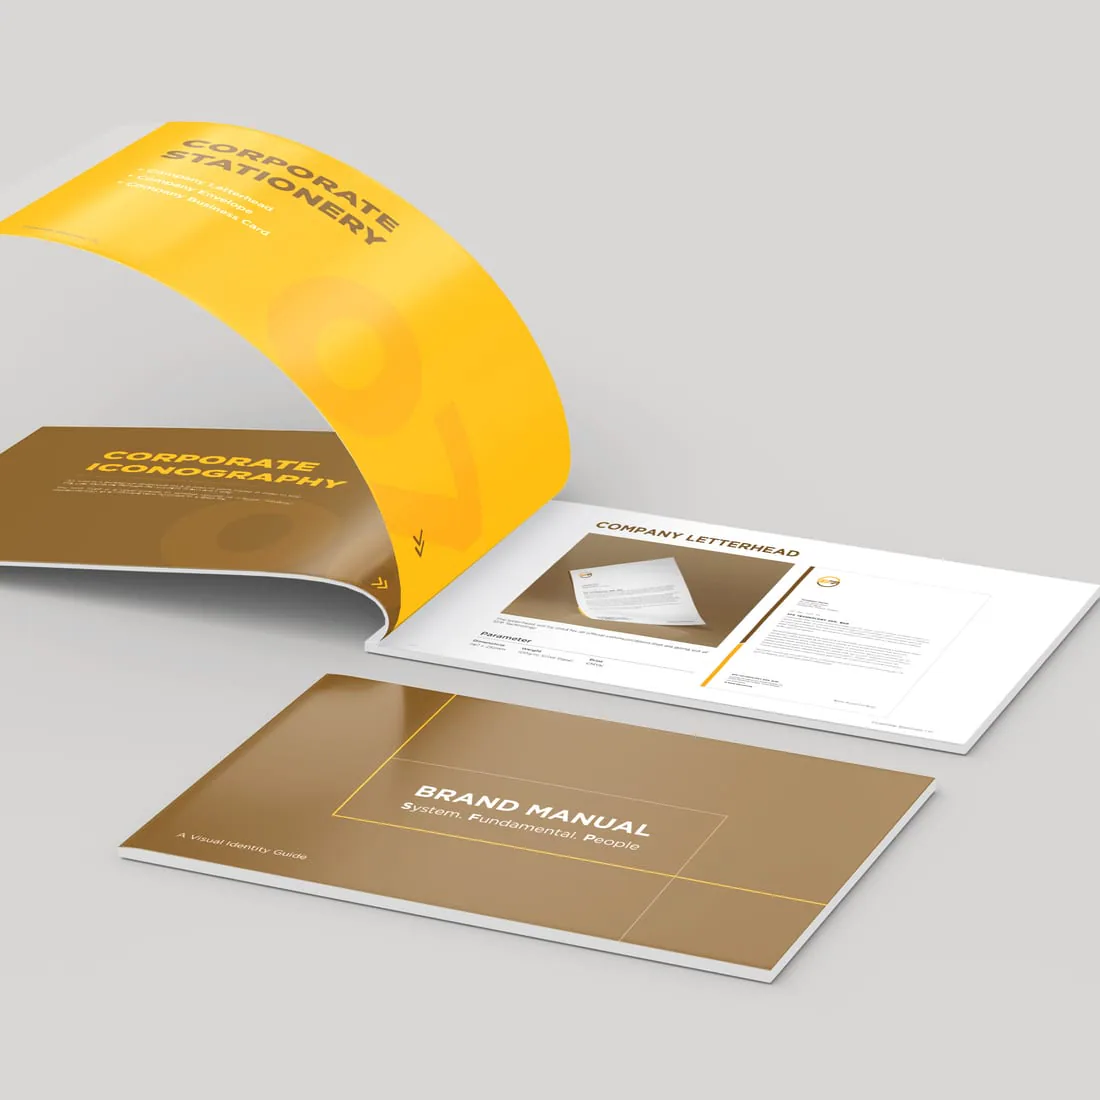
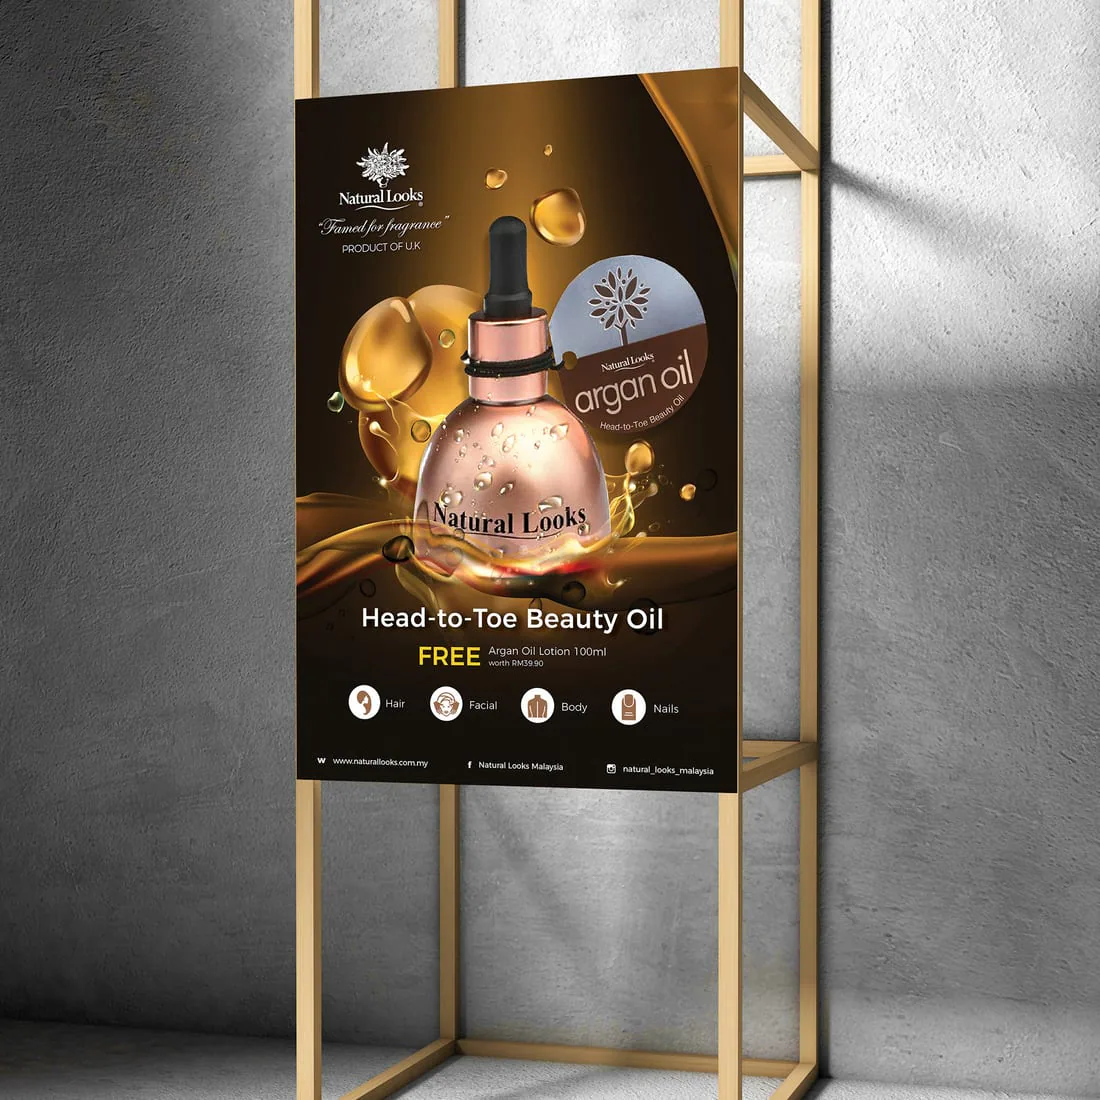
From a clear brief to a coherent visual system
The brief matters because every finished application still has to feel like one brand.

Supply the approved content
Separate essential content from optional material. Provide approved copy, correct names and contact details, specifications, prices or expiry dates, required logos, certification marks, final QR destinations and any legally required wording.
Editable text is more useful than screenshots. The business remains responsible for confirming the final copy.
Send usable brand assets
Original vector logos, brand guidelines, colour references, required typefaces, high-resolution photographs and previous approved artwork provide the strongest starting point.
A logo copied from a website, email signature or messaging screenshot may be too small for quality printing.
Explain the visual direction
Share references and point to the specific quality you like, such as the information hierarchy, tone, photography or use of space. It is equally helpful to identify what should be avoided.
References guide the conversation. They should not become a request to copy another brand.
Describe how the finished item will be used
Explain whether it will be mailed, handed out, displayed, written on, wiped, viewed from a distance or applied to a curved surface. State whether it will be used indoors, outdoors or in a demanding environment.
Real usage details are more useful than guessing a material name.
Give the real deadline
Share the launch, event or delivery date, not only the date you hope to receive artwork. The schedule may need time for content preparation, design, revisions, proofreading, proof approval, production, finishing and delivery.
Urgent work is easier to assess when the team knows what is already final.
Name the approver and decision process
Decide who will collect feedback and who has final approval authority. For larger organisations, identify management, legal, compliance, product or purchasing reviewers and include their review time.
Consolidated feedback is clearer than several conflicting message threads.
File handover
What files should you send to a graphic designer?
Keep names clear and separate approved material from older versions. A folder called Final Approved Content is more useful than several files that all contain the word final.
Practical handover list
- Editable copy in Word, Google Docs or another text format
- Original vector logo files such as AI, EPS, SVG or editable PDF
- Brand guidelines and colour references
- Original high-resolution photographs
- Spreadsheets for variants, prices or staff details
- Packaging dielines or production templates, when applicable
- Previous artwork or printed samples that must be matched
- One marked reference showing a specific requested change
Choose the right scope
Do you need a new design or artwork adaptation?
New graphic design
Choose this when the project needs a concept, visual direction, information hierarchy or broader brand thinking.
Explore Graphic Design & BrandingArtwork adaptation
Choose this when an approved design exists but needs resizing, versioning, rebuilding or production setup for new formats.
Explore Artwork AdaptationBrochure design
Choose this when approved business or product information needs a clear sales structure for digital use, printing or both.
Explore Brochure DesignWorked example
What does a useful print design brief look like?
We need an eight-page company profile for sales meetings and email enquiries. The main audience is purchasing managers who do not yet know our company. It should explain our three service groups, show four completed projects and lead readers to request a quotation. We have approved English copy, a vector logo and original project photographs. We expect 300 printed copies and a screen-friendly PDF. The profiles are needed for a trade event on 30 October. Our sales director will consolidate and approve all feedback.
This gives the designer a purpose, audience, content structure, deliverables, available assets, quantity, deadline and approval route. Paper, binding and finishing can then be recommended against the intended use and budget.
Frequently asked questions
Questions businesses often ask
What is a print design brief?
A print design brief is a practical summary of the project's goal, audience, content, formats, production needs, timing and approval process. It gives the designer enough context to create artwork that communicates clearly and can be produced correctly.
Do I need to choose the paper or material first?
Not always. Explain how the item will be used, handled and displayed. A design-and-production team can then recommend suitable materials and finishing before the artwork is finalised.
Can design begin before all the text is final?
Early layout planning can begin with an agreed content structure, but final artwork should use approved copy. Late text changes can affect page count, spacing, hierarchy, dielines and timing.
What if I only have a low-resolution logo or old sample?
Share what you have and explain the intended use. The file may need to be traced, rebuilt or adapted before it can be used reliably at the required size.
What makes a file print-ready?
A print-ready file is prepared for a confirmed size, material, finishing method and production process. It is more than simply exporting a design as a PDF.
Ready to brief your project?
Send the goal, item, quantity, size, deadline and files you already have.
Jprint Studio will help identify whether the job needs new design, artwork adaptation or production only.